Miniature Painting Guide – Forged Terrain
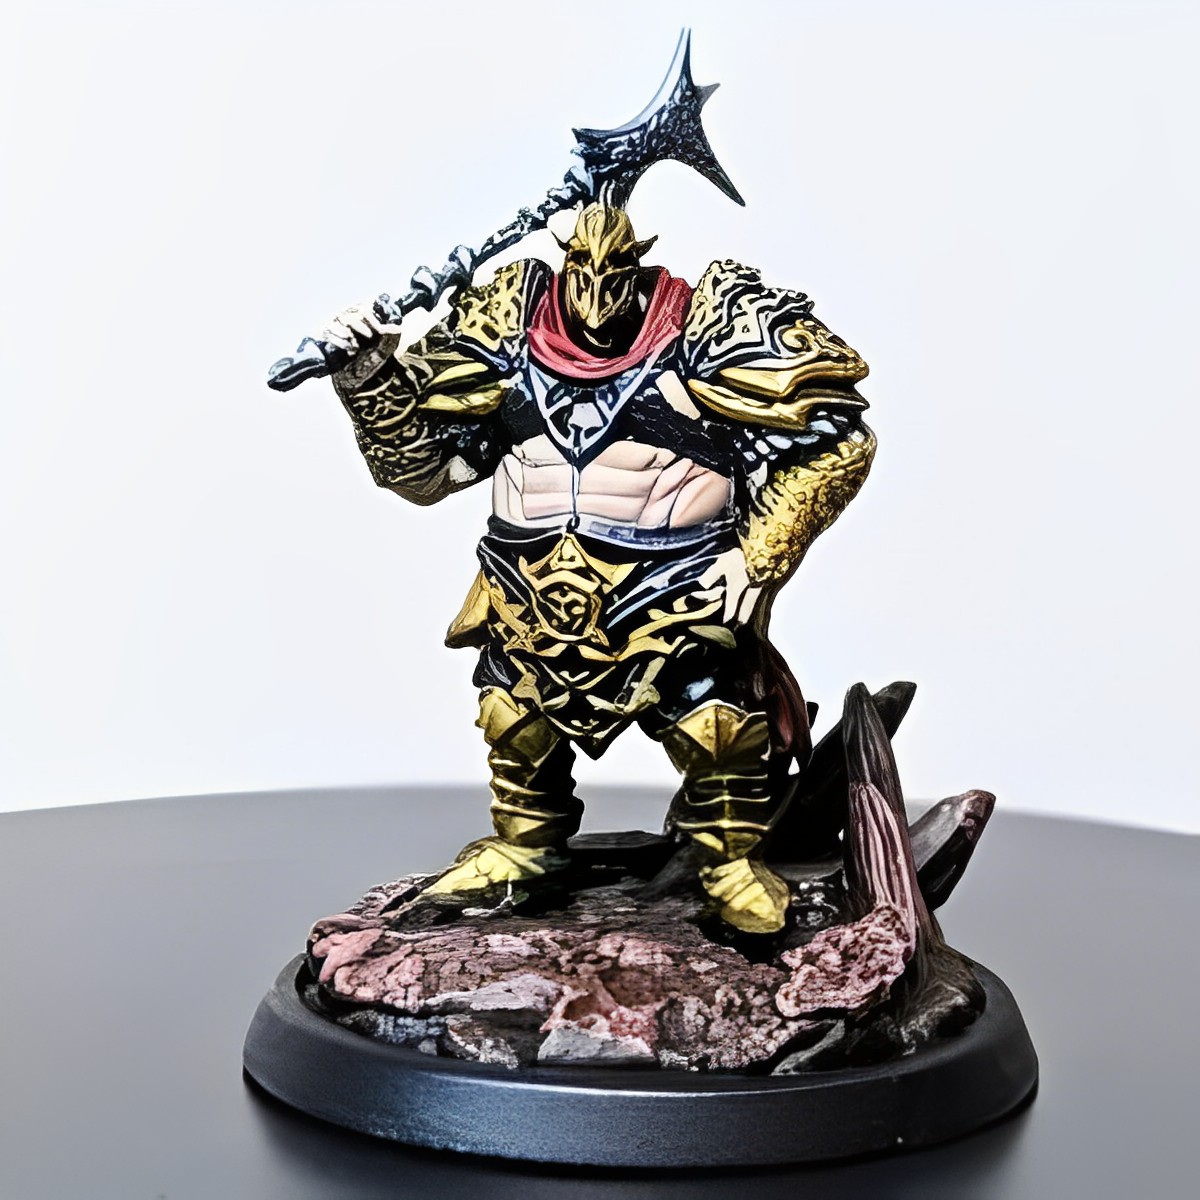
Have you ever seen a beautifully painted miniature and wondered how it was done? Painting miniatures can be a daunting task, but it’s also a rewarding one. With a little practice, anyone can learn how to paint miniatures that look like they came from a professional studio.
In this blog post, we’ll walk you through the basics of painting miniatures, from preparation to finishing. We’ll also share some tips and tricks that will help you achieve exceptional results.
Here are 7 Easy Steps that will serve as your Miniature Painting Guide:
Step 1: Prepare Your Miniature
The first step to painting a miniature is to prepare it properly. This means cleaning it thoroughly and applying a primer.
To clean your miniature, simply wash it with soapy water and a toothbrush. This will remove any dust, dirt, or manufacturing residue. Once your miniature is clean, you can apply a primer. Primer helps the paint adhere to the miniature and creates a smooth surface for painting.
There are many different types of primers available, so choose one that is specifically designed for miniatures. Black primer is a good choice for most miniatures, as it provides a dark base that will make the paint colors pop. White primer is also a good option, as it creates a bright base that is ideal for light-colored miniatures.
Step 2: Choose Your Colors
Once your miniature is prepared, you can start choosing your colors. The colors you choose will depend on the miniature you are painting and the effect you want to achieve.
If you are painting a miniature from a specific game or wargame, you may want to use the official paint colors for that game. This will ensure that your miniature matches the other miniatures in your collection.
If you are painting a miniature for fun, you can choose any colors you like. Just be sure to choose colors that complement each other and that will create the look you want.
Step 3: Basecoat Your Miniature
The next step is to basecoat your miniature. This means applying a single coat of paint to the entire miniature. The basecoat will provide a foundation for the rest of the paintwork.
When choosing a basecoat color, it is helpful to think about where the light will be hitting your miniature. For example, if you are painting a miniature that will be lit from above, you may want to choose a light-colored basecoat. This will help to create the illusion of depth.
Step 4: Layer Your Miniature
Once your basecoat is dry, you can start layering your miniature. Layering is the process of applying multiple thin coats of paint to create a smooth, even finish.
When layering, it is important to use thin coats of paint. Thick coats of paint will obscure the details of your miniature. It is also important to let each coat of paint dry completely before applying the next coat.
When choosing colors for your layers, you can use the same colors as your basecoat or you can add additional colors to create more depth and contrast.
Step 5: Add Highlights and Shadows
Once your layers are dry, you can add highlights and shadows to your miniature. Highlights are the lightest areas of the miniature, while shadows are the darkest areas.
To add highlights, simply paint a small amount of a lighter color on the raised areas of your miniature. To add shadows, simply paint a small amount of a darker color in the recesses of your miniature.
Step 6: Seal Your Miniature
Once you are happy with the look of your miniature, you can seal it with a varnish. Varnish will protect your miniature from wear and tear and will also give it a glossy or matte finish.
When choosing a varnish, it is important to choose one that is specifically designed for miniatures. This will ensure that the varnish does not damage the paint on your miniature.
Step 7: Enjoy Your Masterpiece!
Once your miniature is sealed, you can enjoy your masterpiece! Your miniature will now be protected from wear and tear and it will look its best for years to come.
Here are some additional tips for painting miniatures:
- Use good quality brushes. This will make it easier to apply the paint evenly and prevent the bristles from shedding.
- Thin your paints. This will make them easier to apply and will prevent them from obscuring the details of your miniature.
- Use a wet palette. This will help to keep your paints moist and will prevent them from drying out too quickly.
- Practice makes perfect. The more you paint, the better you will become at it.
Don’t be afraid to experiment. There are no rules when it comes to painting miniatures. Have fun and see what you can create!
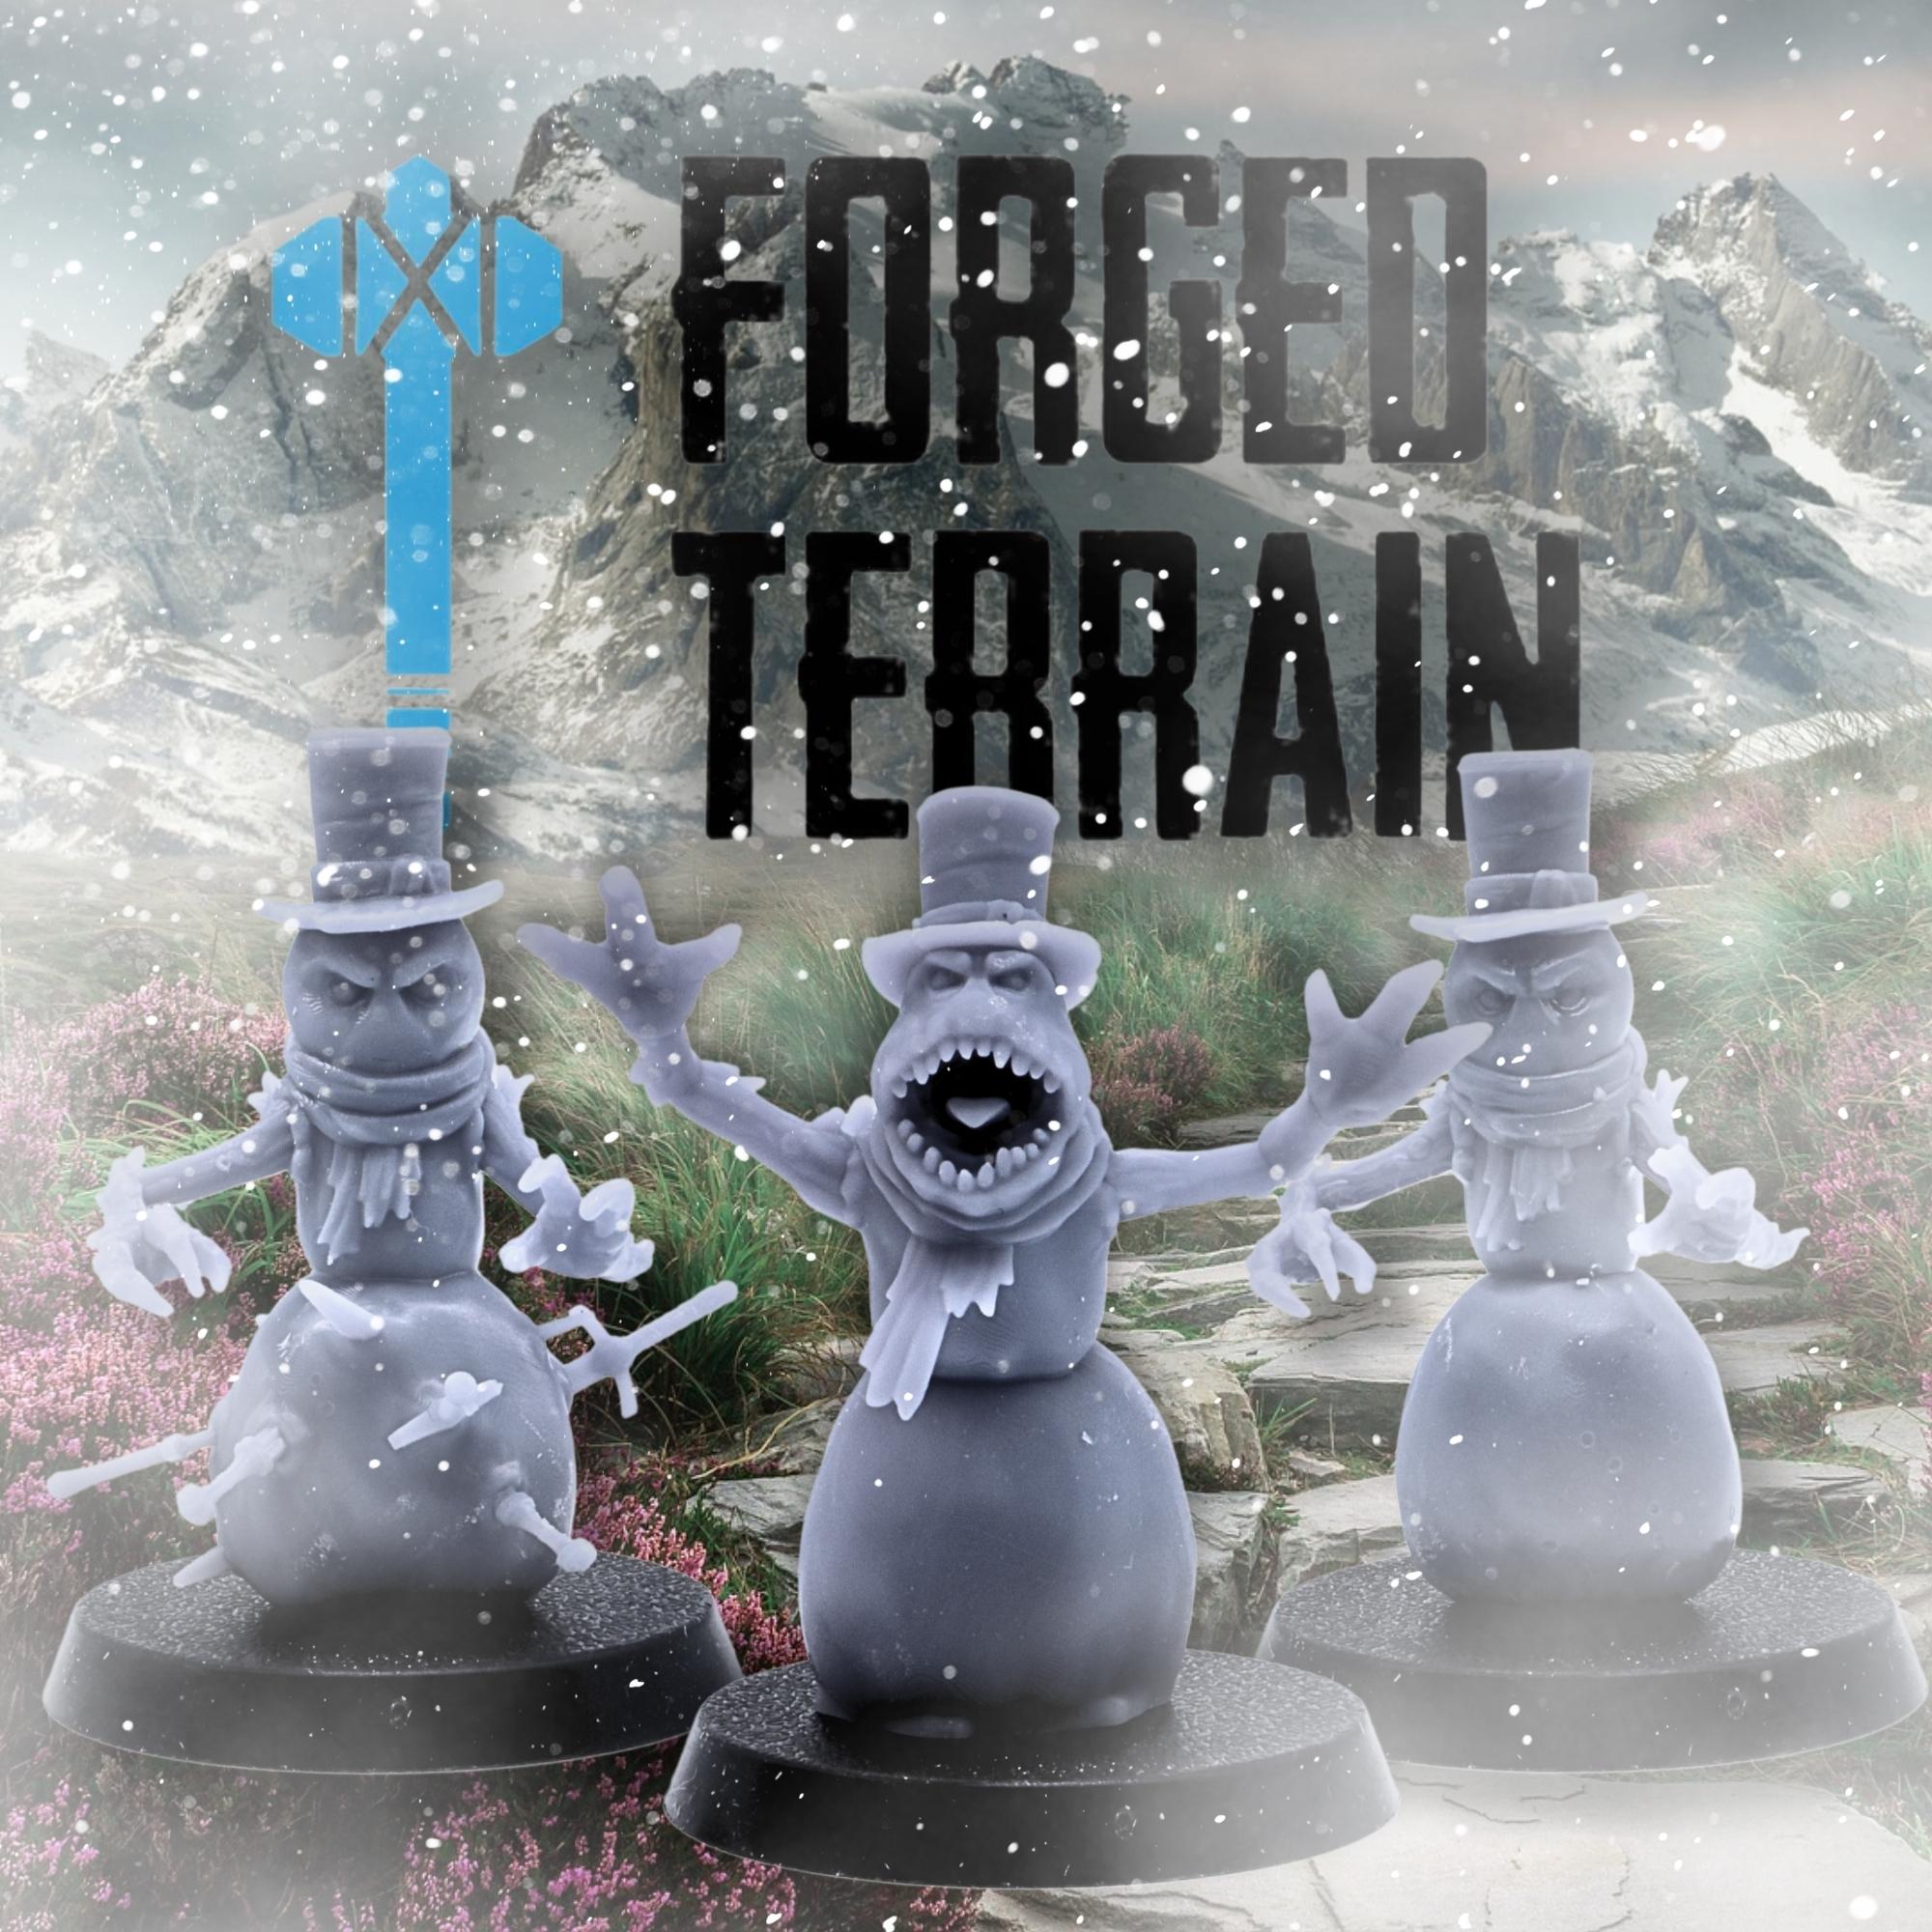
Try this effective Miniature Painting Guide with Forged Terrain Miniature Models
We hope you enjoyed this guide to painting miniatures. Now that you know the basics, why not get your hands on some of our high-quality 3D printed miniatures and start painting today?


